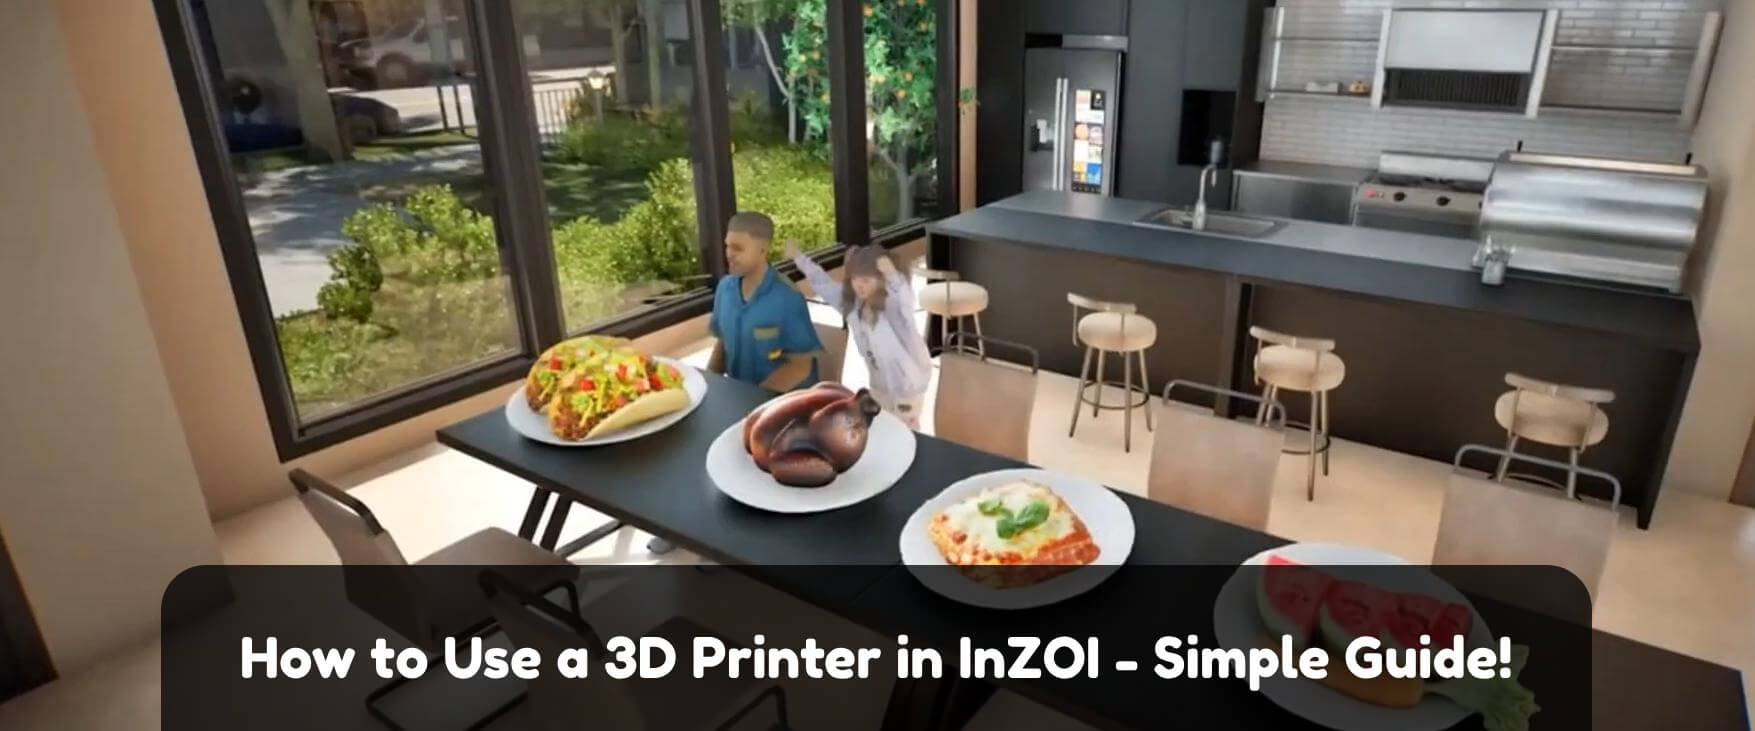
The inZOI life simulator has a very useful 3D printer function. It allows you to create in-game objects based on real images. Simply put, you can take a photo of an object with your phone, then create a scanned copy of the object based on that photo and transfer it to the game.
However, how to use the 3D printer in InZOI? Let’s try to deal with this question in this step-by-step guide.
It’s actually very simple. The first thing you need to do is to prepare a photo of the object that you want to transfer to the game.
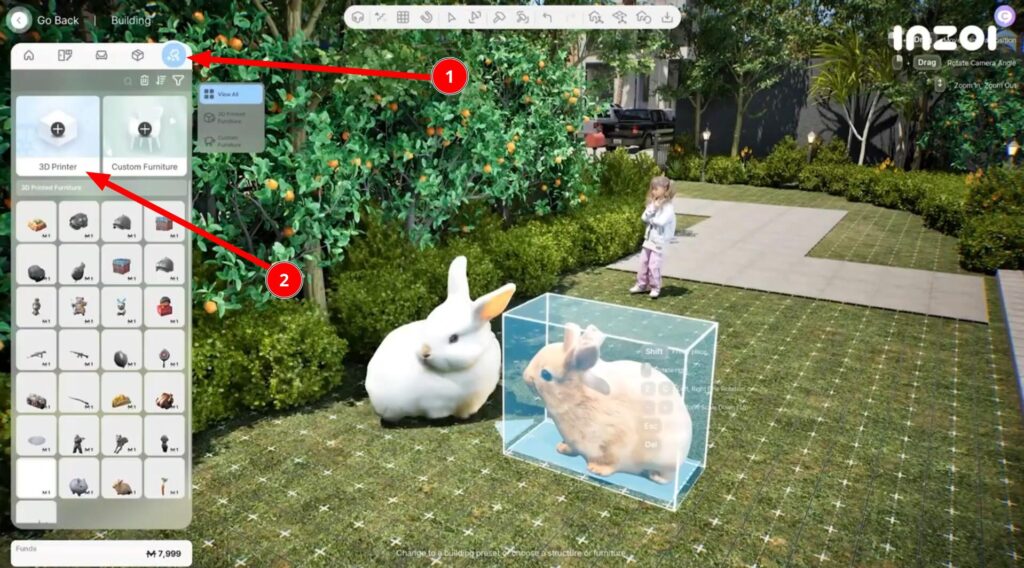
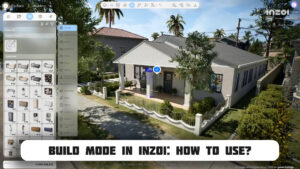
Next, you should open the construction mode in the game – it’s the outermost icon on the right (see screenshot below), and find the 3D scanning option there.
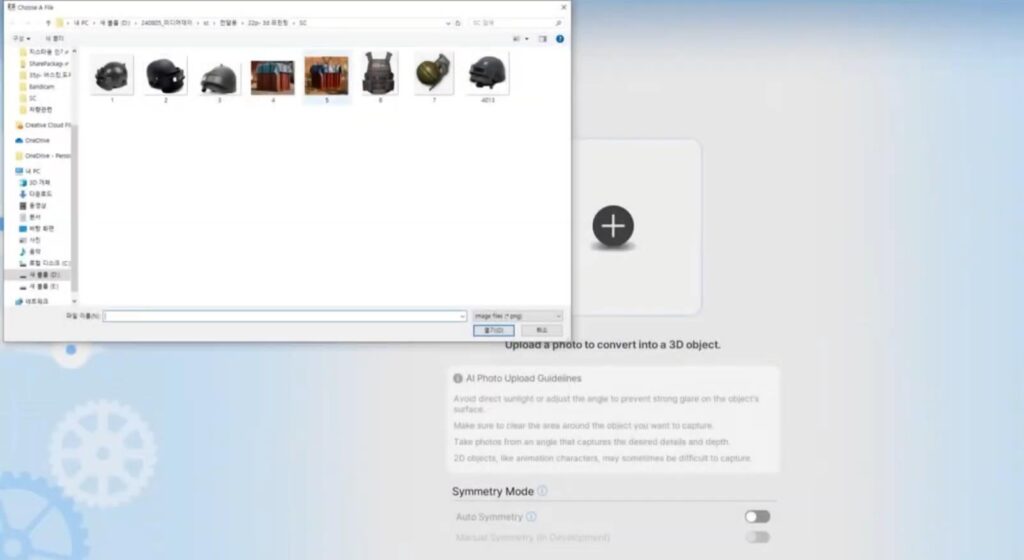
The folder explorer will open in front of you. In it, go to the folder where the photo lies and load it into the game.
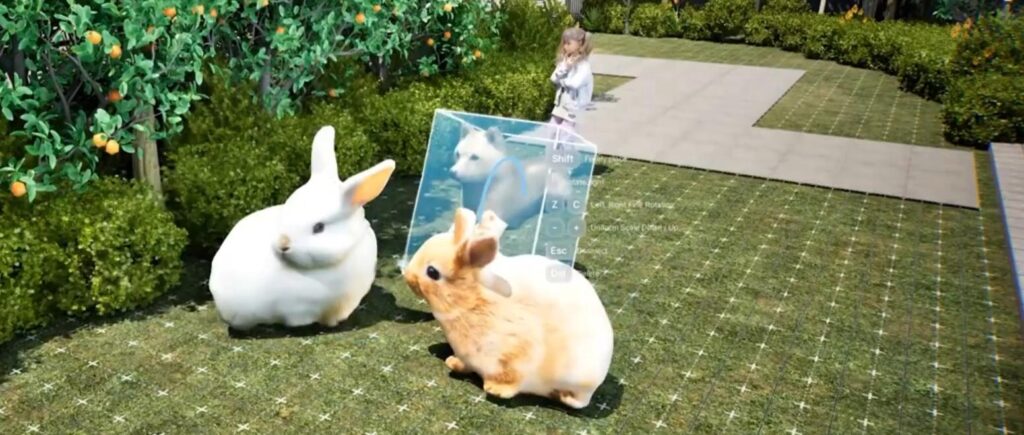
All that now remains is to customize the dimensions, select the orientation of the object and its location. When everything is set up correctly, you can press the corresponding button to place the object in the game.
As you can see, everything is incredibly simple. However, keep in mind that each object printed in this way will cost you 1 unit of game currency – Meow. Also keep in mind that you won’t be able to save items created on 3D printers as presses and you won’t be able to upload them to Canvas.
It is not recommended to use other programs that load the GPU while this feature is running, as errors and bugs may occur.





Comments (0)